William has designed pioneering multi-sensory products that enhance and challenge the dining experience. We would love to share this design process with you…
How I Became a Designer
Being the son of a noted Industrial Designer, I sought out classes in Furniture Design and Silversmithing, while attending the University of Central England (now Birmingham City University). It wasn’t until I was a Graduate student at the Royal College of Art in London, that I took true ownership of the design process.


The Cutlery Design Process
Design is at the heart of our business. From inspiring new ideas, down to working out the smallest details, there is a process we go through to design a new range of cutlery, which we want to share with you.
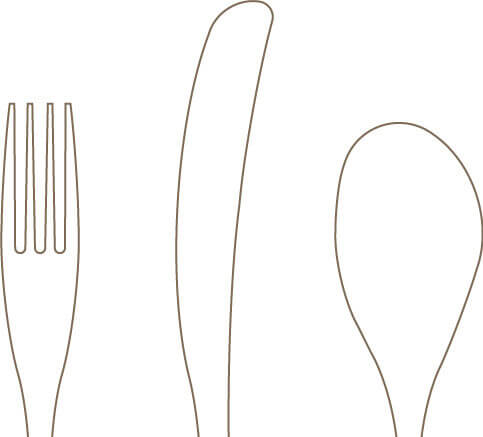
Step 1: Getting the Idea Down On Paper
At Studio William we start designing by trying to interpret, and transfer, our ideas into a visual representation. We do this using computers with CAD software (Computer Aided Design). Sometimes, we also take the traditional pencil and paper route. After many conceptual line drawings, a few possible solutions arrive, but how do we know if it will work, and what would the final metal design look and feel like?

Step 2: Creating an Engineering Drawing
From our outlined CAD designs, we create highly detailed engineering drawings. Our model maker then uses these to accurately interpret the designs and bring them into reality.
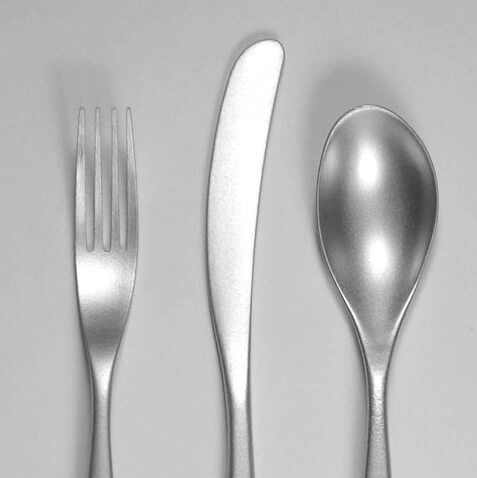
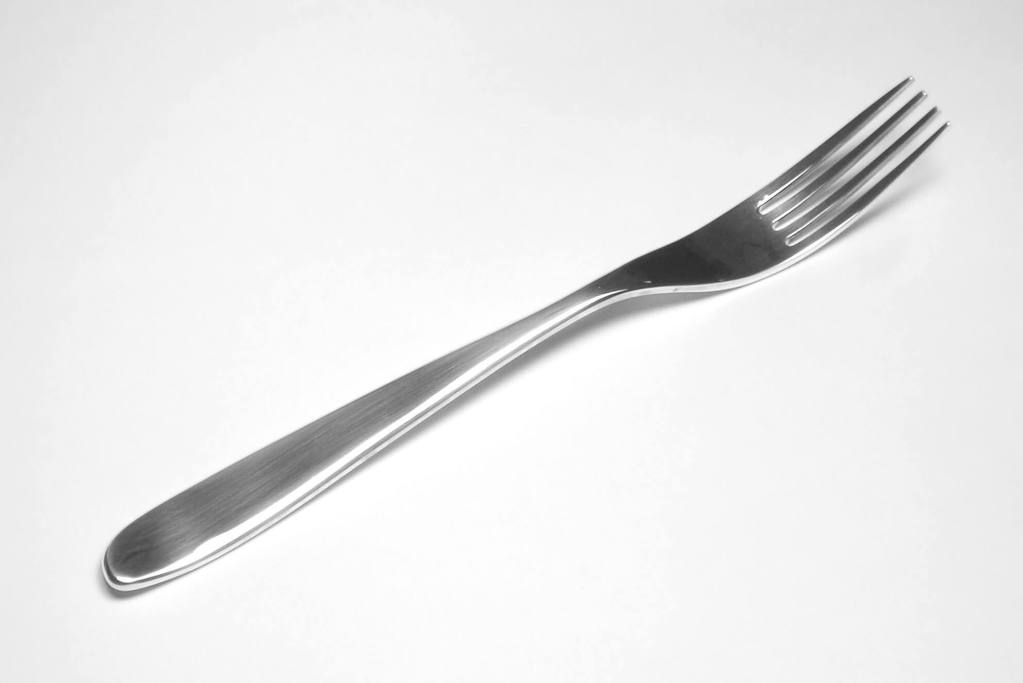
Step 3: Carving a Wooden Fork Model
We choose to make hand carved wooden models, or models from high-density foam which has a similar density and carving property to wood. After carving, it is easy to apply silver paint to the model. This gives us the first real understanding of how the fork will feel in the hand and look on the table. The silver paint allows us to see the basic reflections.

Step 4: Refining the Design Further Still
Often small adjustments are made to the models, ensuring we get the pieces as precise as possible. We do this by sending the models back to the model maker along with adjusted engineering drawings, for physical adjustments to be made.
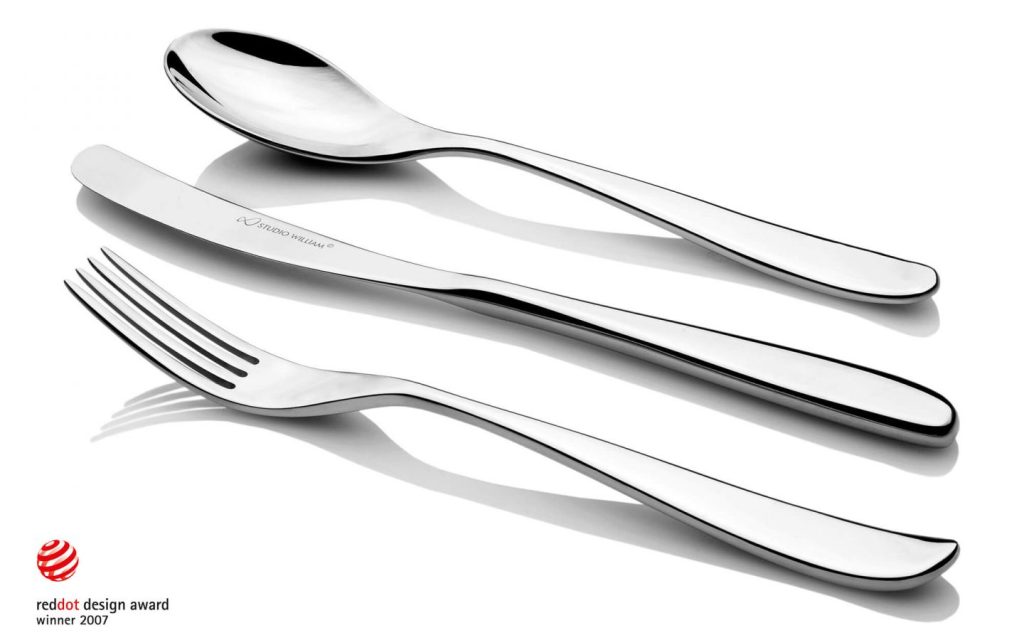
Step 5: Making Sterling Silver Models
After approving the models and design proportions we move onto making metal forms. This allows us to confirm the feel, and weight, in the hand. It is important to evaluate the balance, which is often overlooked by many companies. The engineering drawings, and the wooden models of the Knife, Fork and Spoon, are given to our Silversmith, who then makes the silver pieces by hand.

Step 6: Manufacturing Tooling Now Begins
Now that we have been able to approve all elements of design, from functionality to aesthetics, we are able to start tooling. The models and engineering drawings are sent to the factory. There, the CNC machines cut and prepare the tooling profiles which are used to press and form the stainless-steel blanks. These then become the beautifully finished cutlery pieces that make up a place setting. You can find out more about this process in detail here.
Step 7: Manufacturing Beautiful Cutlery
After making the cutlery, we go through a rigorous Quality Control procedure, with many checks, and guidelines, set in place. This guarantees our customers receive a perfect product every time.
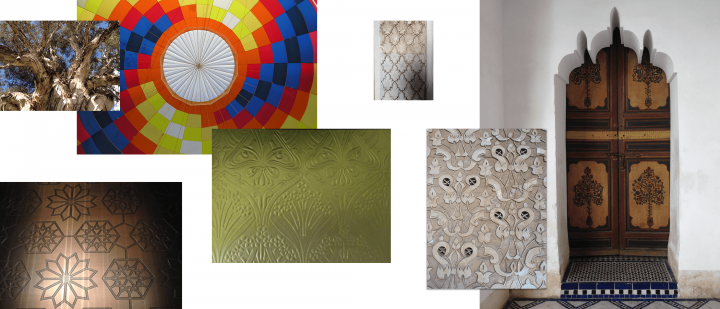
Observations and Inspirations
Through the years, I have travelled around the world and seen some truly incredible sights. Here are just some of the moments that have inspired me.